How to Make Your Own Radiator Cover: A Simple DIY Guide
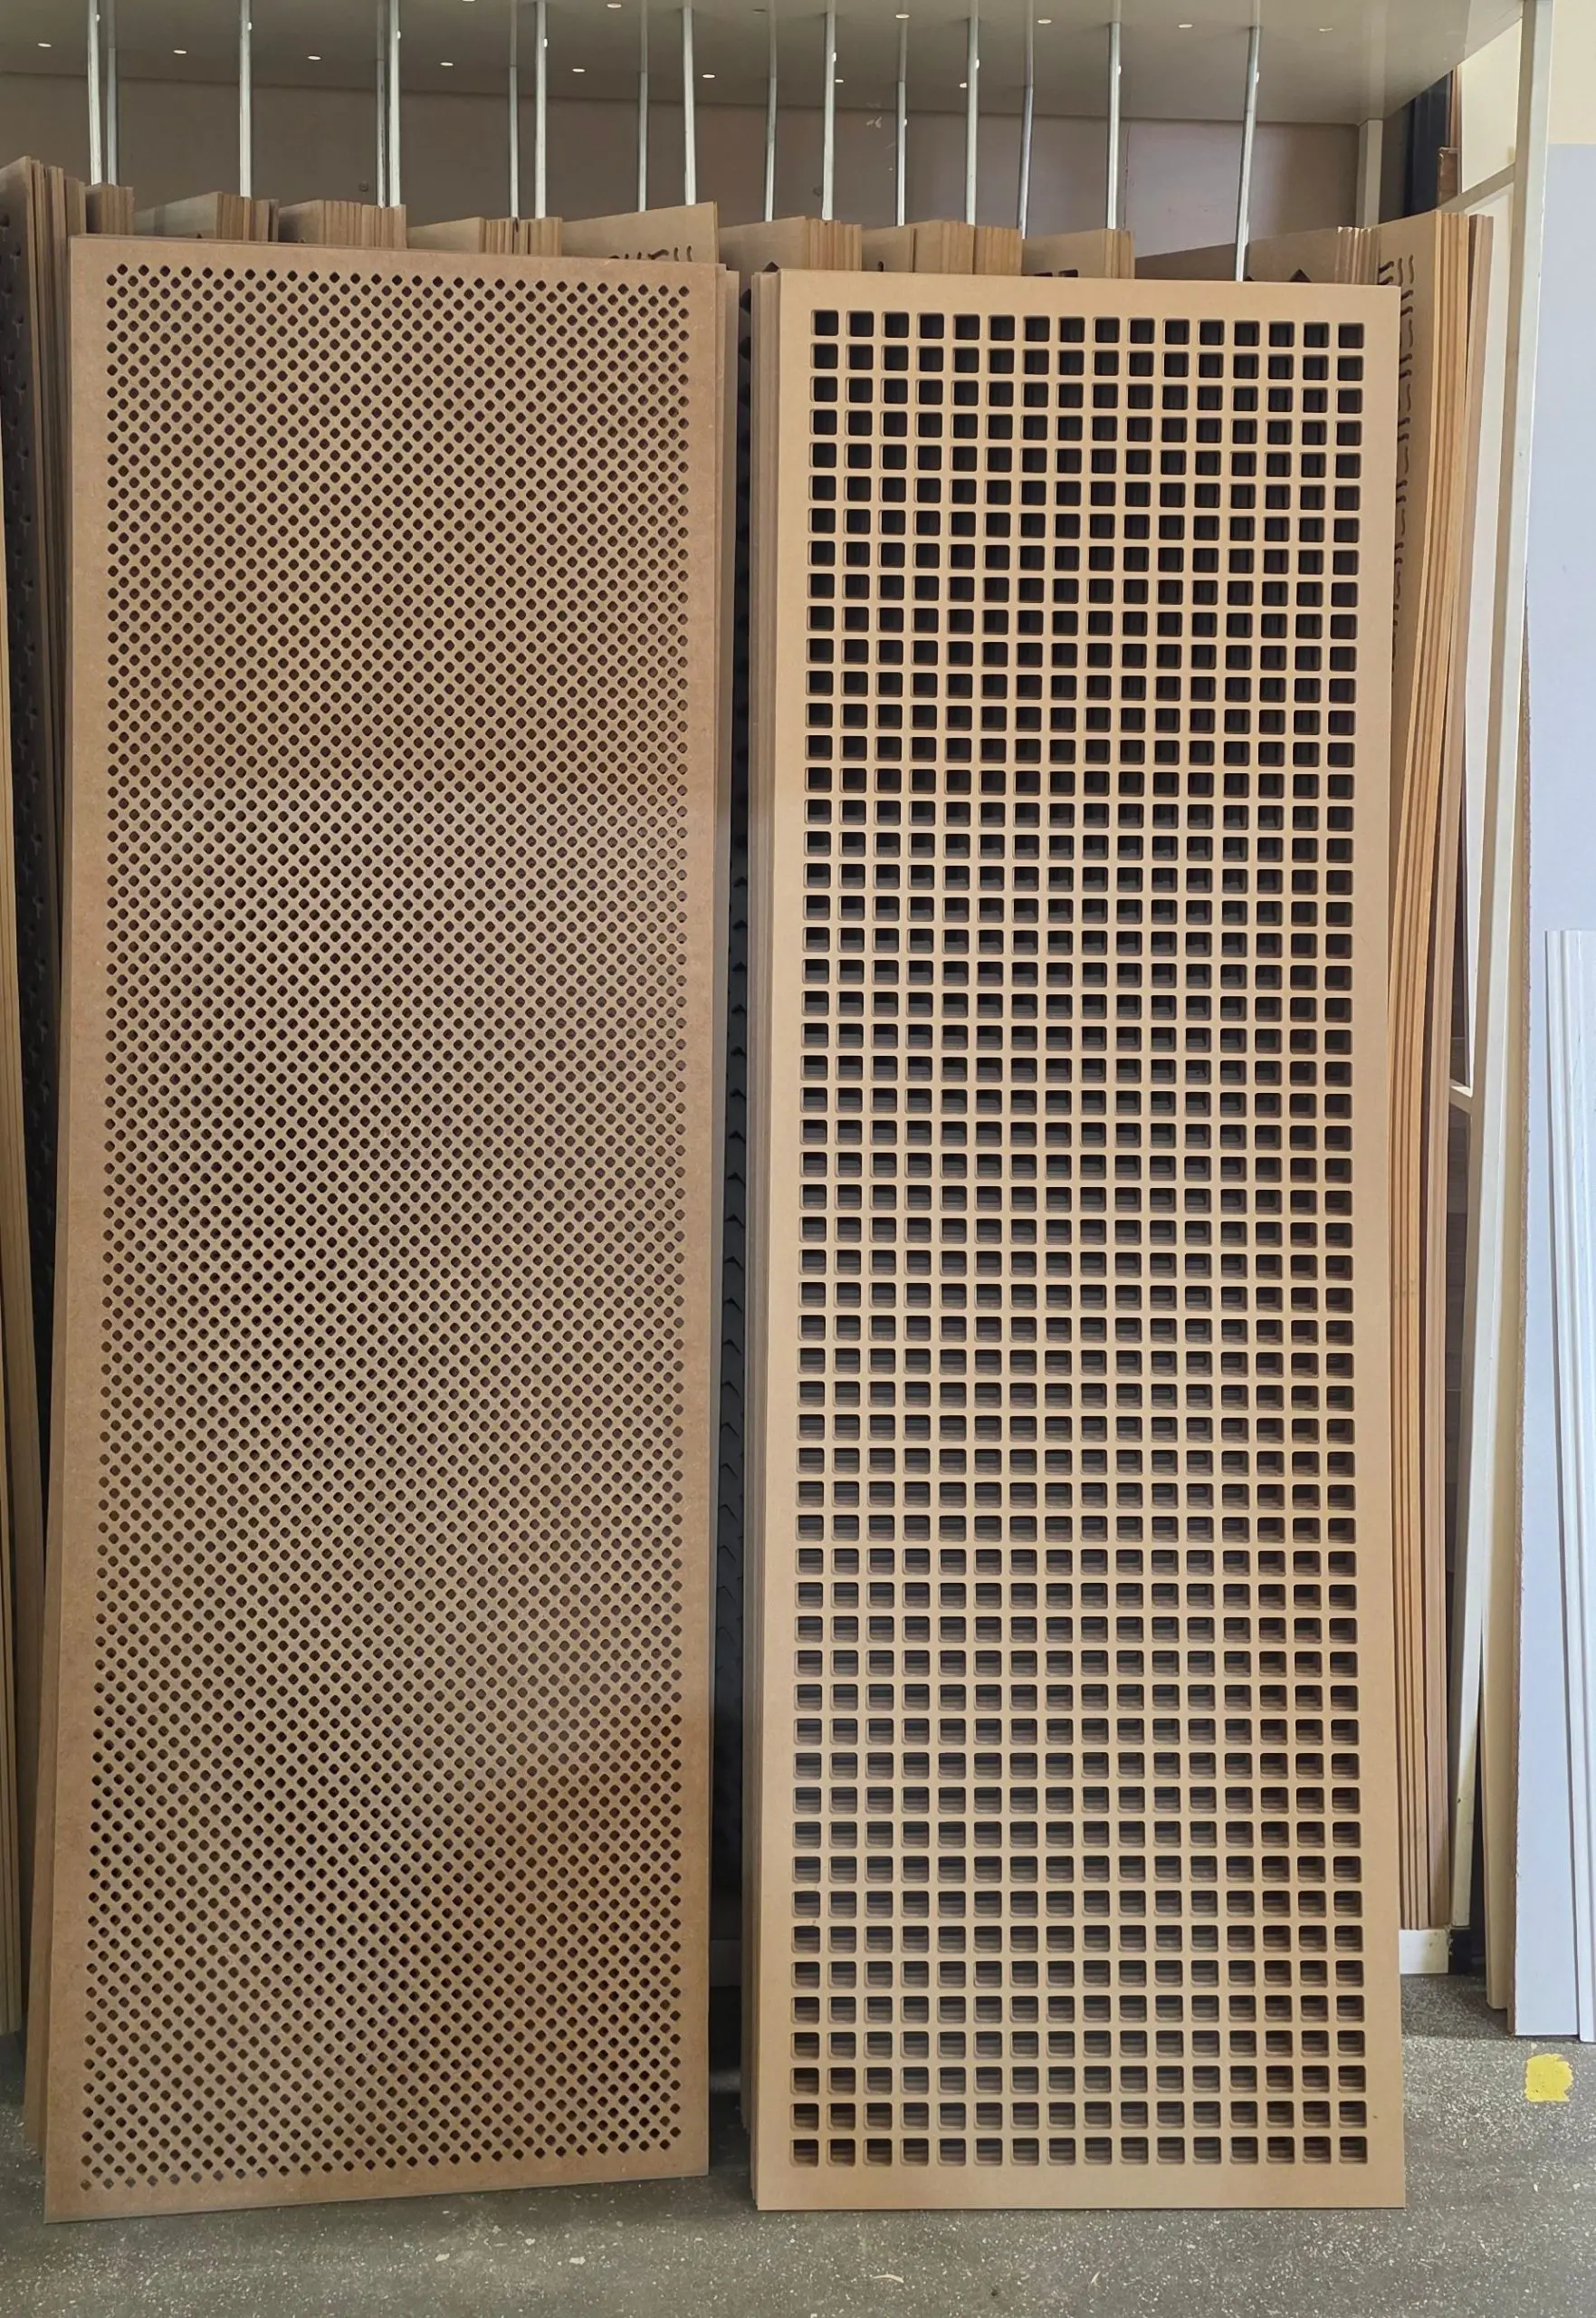
Radiator covers are a brilliant way to add style, safety, and practicality to a room. Not only do they hide old or unattractive radiators, but they also create useful shelf space and can tie a whole interior together. Whether you’re a seasoned DIYer or giving it a go for the first time, making a radiator cover is far easier than it looks, especially when using fretwork panels such as the Madrid or Nevada designs.
In this guide, we’ll walk you through how to build a smart, made-to-measure radiator cover you’ll be proud to show off.
Why Make a Radiator Cover?
Before we dive in, here are a few reasons why people love them:
- Improved appearance — hide old radiators and match your décor.
- Added safety — great in homes with children or pets.
- Extra storage — perfect for photos, candles, or ornaments.
- Better airflow — a well-designed cover can help heat circulate properly.
What You’ll Need
Materials:
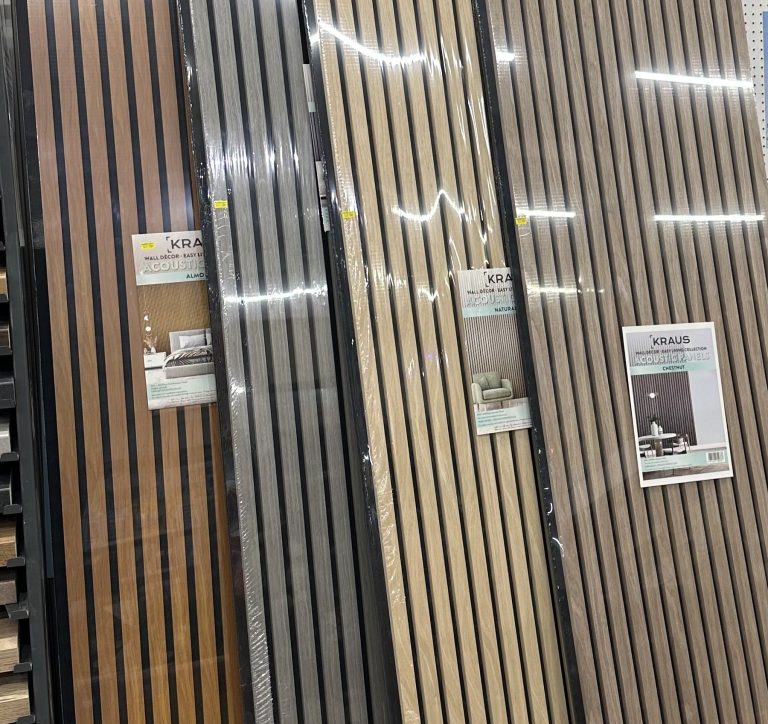
- One decorative fretwork panel (Madrid, Nevada, or any design you like)
- MDF boards for the top, sides, and front frame
- Timber battens
- Wood glue
- Filler
- Sandpaper
- Paint or primer
Tools:
- Tape measure
- Saw (hand saw or circular saw)
- Drill and screws
- Clamps
- Paintbrush or roller
Step 1: Measure Your Radiator
Good measurements make a good cover.
Measure:
- Width: radiator plus around 5cm on each side
- Height: radiator plus space for airflow
- Depth: radiator plus at least 2–3cm to prevent trapping heat
Tip: Make sure your cover has enough ventilation. Radiators work best when air can flow freely from the bottom and out through the fretwork.
Step 2: Build the Front Frame
Cut your MDF to create the main front frame. This will hold the fretwork panel in place.
- Cut two vertical pieces and two horizontal pieces.
- Assemble them into a rectangular frame using glue and screws.
- Place your fretwork panel behind or inside the frame and secure it.
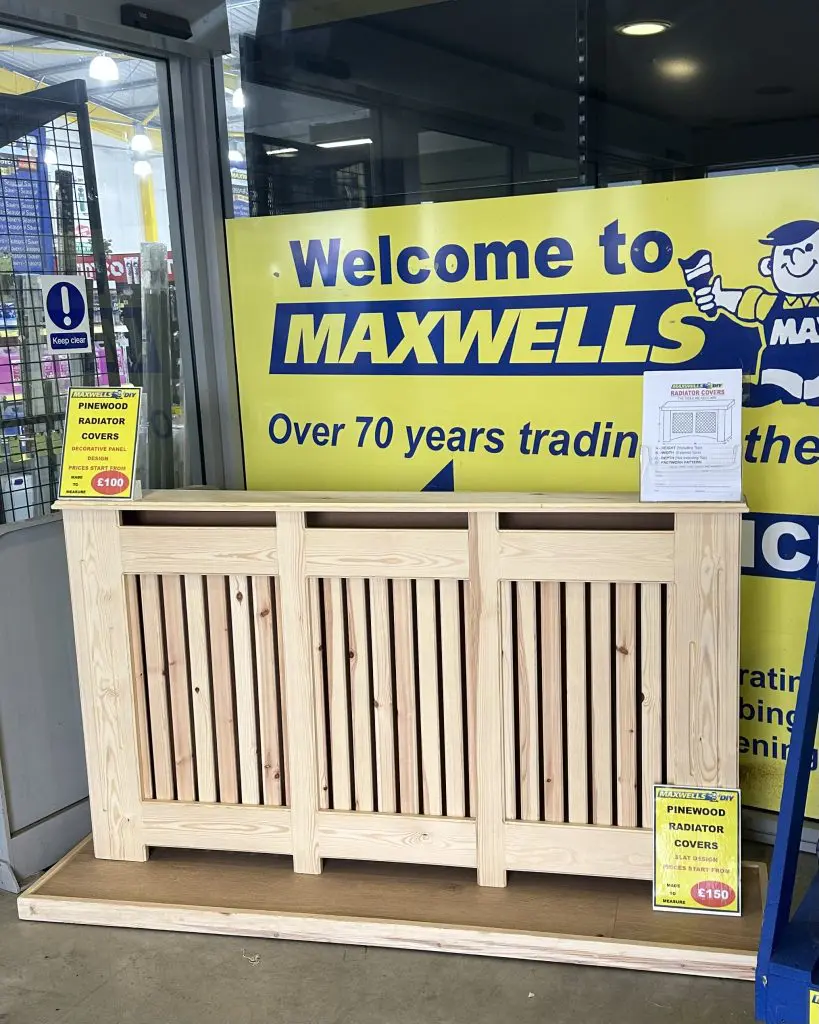
The fretwork panel is what gives the cover its style, whether you prefer the geometric look of Madrid or the softer, curved design of Nevada.
Step 3: Make the Side Panels
Cut two side pieces of MDF to the height and depth you measured earlier.
These panels should form the structure of your cover, keeping it stable and ensuring it stands neatly against the wall.
Attach battens to the inside edges, these will help you secure the front frame later.
Step 4: Add the Top Shelf
Cut a top panel that overhangs the frame by around 1–2cm on each side. This makes the cover look more finished and gives you a lovely shelf detail.
Secure the top panel to the side pieces using screws and glue.
Step 5: Assemble the Radiator Cover
Now it all comes together:
- Fix the front fretwork frame onto the battens on your side panels.
- Make sure everything sits flush and straight.
- Fill any gaps or screw holes with filler.
- Sand smooth once dry.
Your cover should now look like a complete, solid piece of furniture.
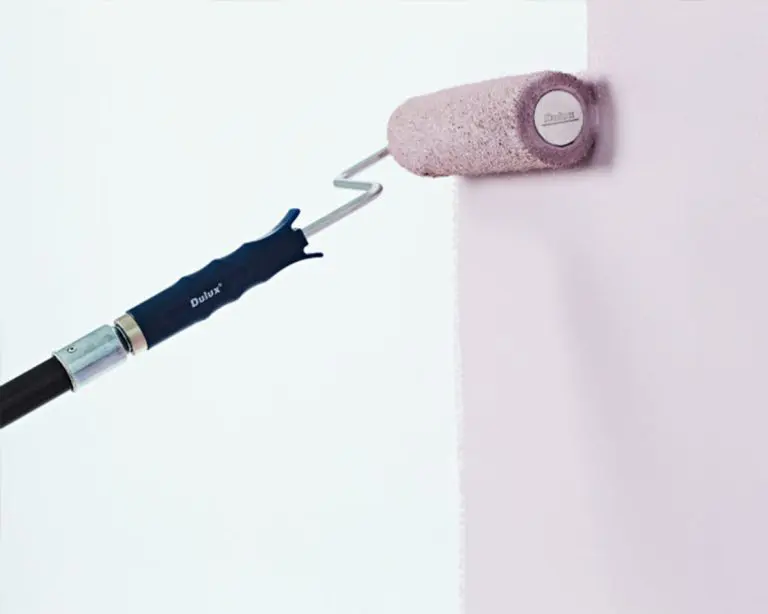
Step 6: Prime and Paint
For the best finish:
- Apply a coat of primer.
- Lightly sand once dry.
- Add your final paint colour — white, soft neutrals, or a bold accent shade all work beautifully.
A roller will give a smoother finish than a brush.
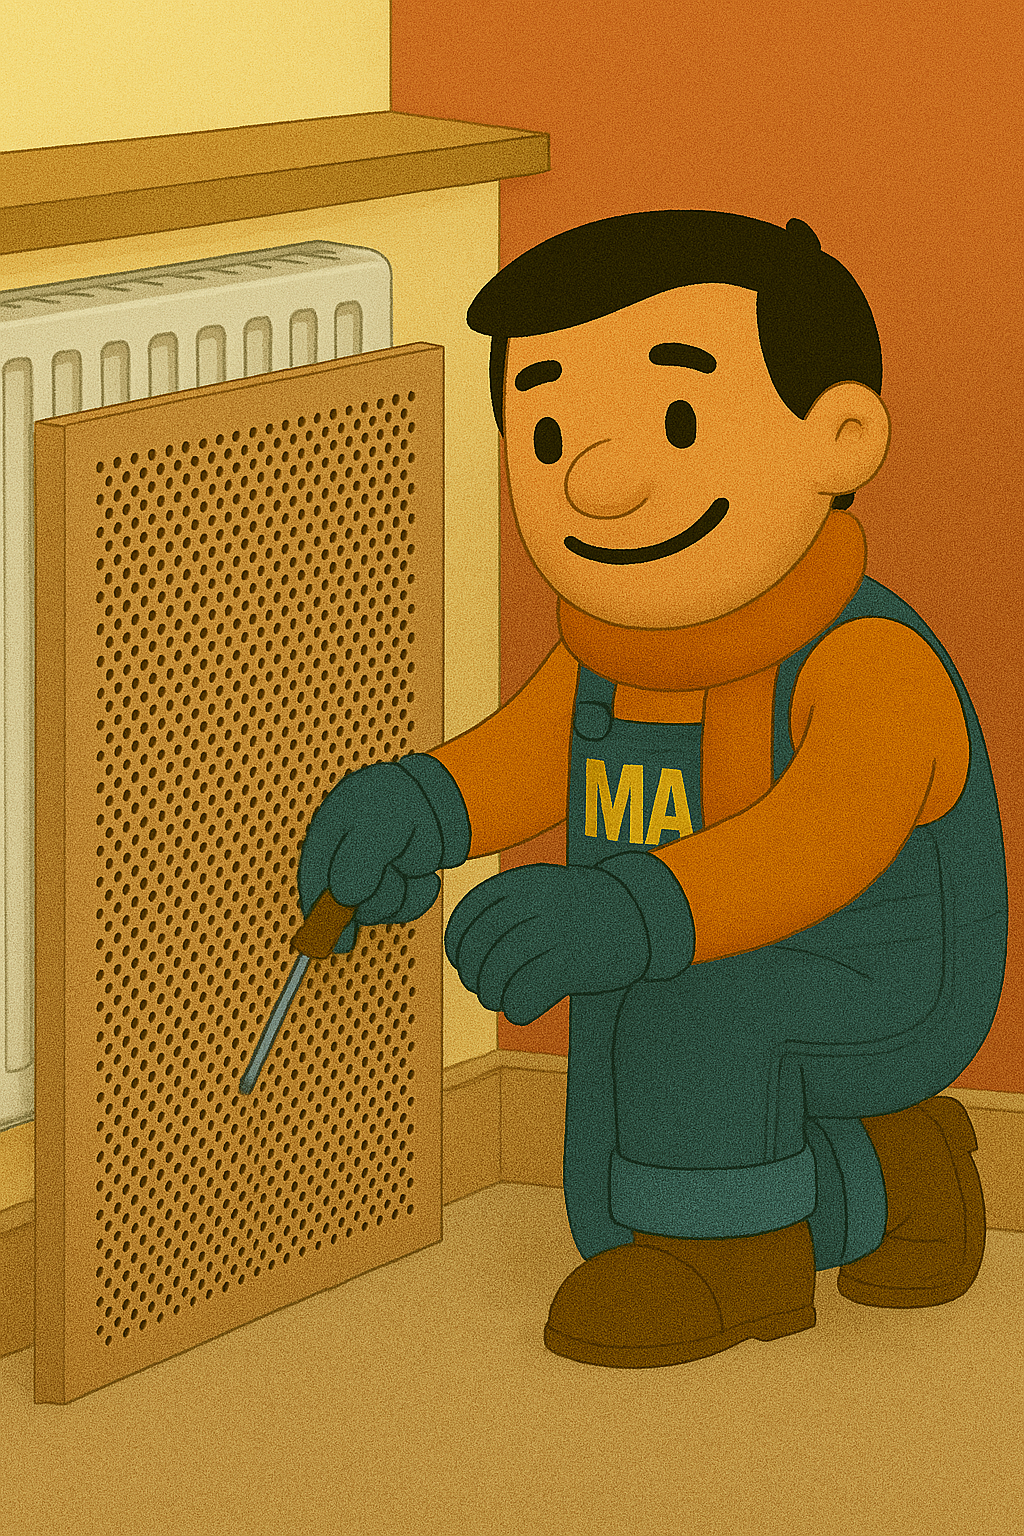
Step 7: Position Your Radiator Cover
Once fully dry, place the cover over your radiator. You don’t usually need to fix it to the wall, but you can add brackets for extra safety if it’s in a busy area.
Now stand back and admire your handiwork!
Need a Made-to-Measure Version?
If DIY isn’t your thing, or you simply want a perfect fit without the fuss, Maxwells Birtley offers made-to-measure radiator covers in a range of beautiful fretwork styles.
Pop into Maxwells Birtley branch to see the Madrid and Nevada panels in person and ask us about custom builds.